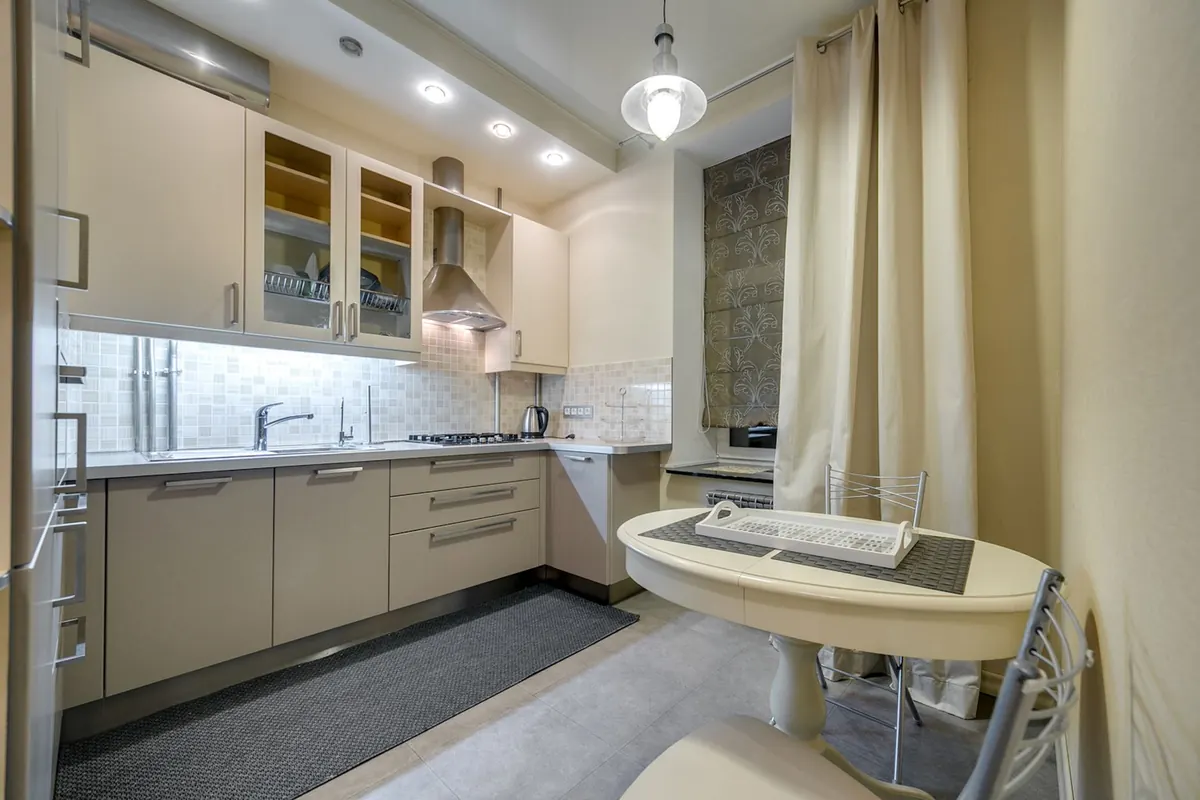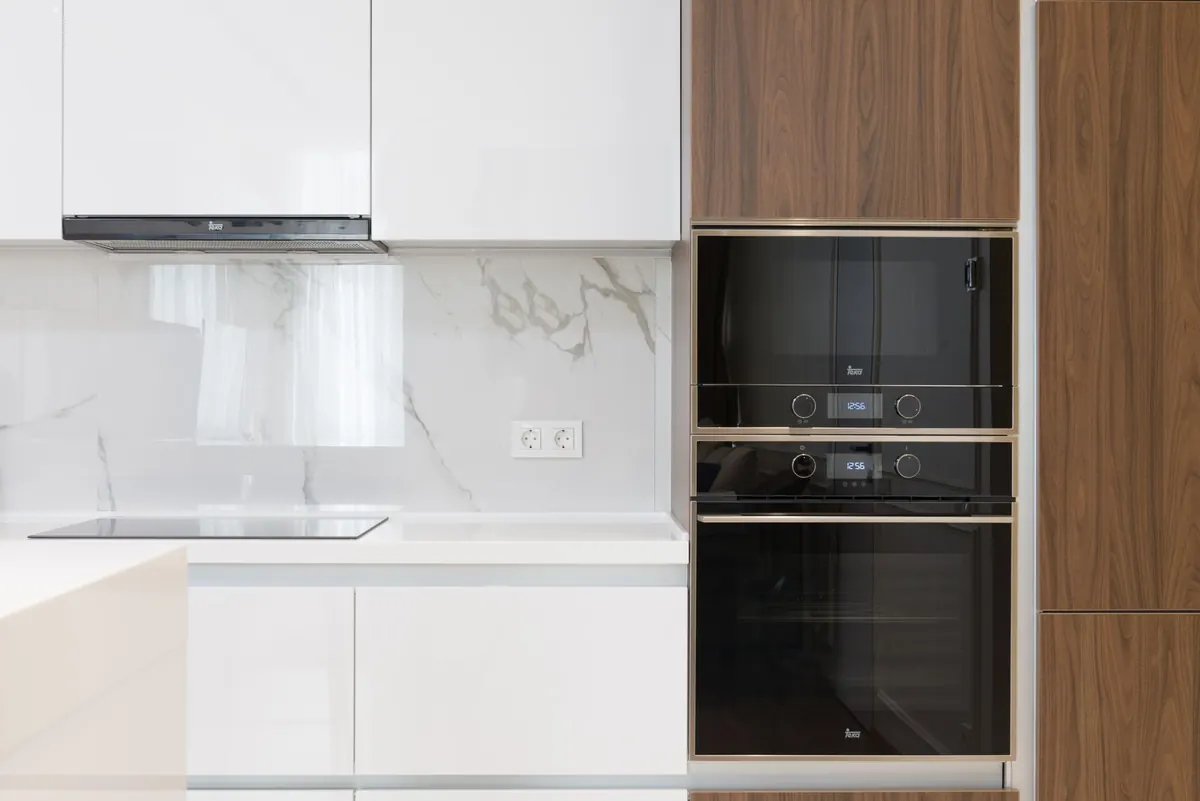
When a Fenland kitchen renovation starts with the cabinets, it often ends up back at the cabinets two winters later, when the doors have swollen and a tide mark is creeping up the plaster under the sink. This is a landscape of high water tables, shrinking peat and ground that sits barely above sea level, and the buildings here feel every bit of it. Most of the expensive problems are avoidable, though, if you look at the shell of the room before the style of it: air, water, ground, walls.
Start With the Building, Not the Cabinets
A kitchen in a fenland village is usually one of two things. Either a solid-brick cottage or terrace built straight onto the ground with no damp proof course, lime mortar in the joints and a suspended timber floor over a shallow void. Or a later house on a concrete slab, where the slab and the ground beneath it are never quite as dry as the survey suggested.
Both types sit in ground that moves. Clay swells when it is wet and shrinks as it dries; peat compresses and settles. Add drainage dykes and a water table that can rise within a metre or two of the surface after a wet winter, and you have a building that is in constant, slow conversation with the ground under it. Your renovation has to work with that, not against it.
Ventilation Comes Before Anything Else
A kitchen produces more moisture than any other room in the house. Boiling pasta for ten minutes puts a surprising amount of water into the air, and in a well-sealed modern house with nowhere for it to go, that water ends up on the coldest surfaces: window reveals, external wall corners, the underside of wall units.
So plan the extract before you plan the cabinetry. A recirculating filter hood is not ventilation; it removes smells and grease and leaves the moisture behind. You want a fan ducted to the outside through the shortest, straightest route you can manage, ideally in rigid ducting rather than the corrugated flexible sort that traps lint and kills airflow. A 150mm duct run will move far more air than a squeezed 100mm one, so decide the route now, while ceilings and walls are still open.
Also think about background ventilation. Trickle vents, a humidity-triggered fan, an airbrick that has not been painted over or blocked by a raised patio. If the room contains a sealed-up chimney breast, a flue vent may be doing quiet work that you should not lose.
Find the Water Before You Seal It
Damp in a fenland kitchen is rarely one thing. It is usually a combination of rising moisture, water getting in from outside, and condensation caused by poor airflow. Sealing the inside of a wall without diagnosing the cause is the single most common mistake, and it can push moisture into the next room instead.
Walk the outside of the house first, ideally after rain:
- Gutters and downpipes: a leaking hopper or a cracked downpipe soaking the wall is far more common than genuine rising damp.
- Ground levels: soil, gravel or a new patio should sit at least two brick courses below the internal floor level, not bridging whatever damp course exists.
- Airbricks: check they are clear and not buried by a flower bed or a block-paved drive.
- Drains and gullies: a blocked gully beside the kitchen door can quietly saturate the surrounding wall for months.
Only once external sources are ruled out does it make sense to talk about injected damp courses, membranes or specialist plaster. If the pattern is unclear, or the wall is bowed or badly salt-stained, pay for a proper damp survey rather than guessing. This is one area where professional advice saves money rather than costing it.
Floors, Levels and What Is Happening Underneath
Fenland floors are often uneven, and sometimes for good reason. Suspended timber floors over shallow voids need those voids to breathe, which is why blocking airbricks outside or laying an impermeable membrane over the joists without thinking can cause rot. Solid floors laid directly on earth, common in older kitchens and sculleries, will always draw some moisture up.
Before you design anything, check the floor level against the outside ground, look for springiness or a dip that suggests joist problems, and note whether the room has more than one level. New floor build-ups add height, which affects door thresholds, appliance clearances, and the fall on sink and dishwasher waste pipes. A waste that has to run uphill will clog, no matter how good the trap is.
If you are laying a liquid damp-proof membrane over a concrete slab, do it only when the slab is genuinely dry and the source of moisture has been dealt with. Trapping water under a sealed floor is a recipe for a soft, hollow-sounding slab and lifting tiles. Where structural movement is suspected, get it looked at by someone qualified before you spend money on finishes.
Old Walls Need to Breathe
Solid brick walls with lime mortar were designed to absorb moisture and release it. Cement render, gypsum skim and plastic-based paints stop that process, and the moisture then pushes the finish off the wall, often carrying white salt crystals with it. That is why a kitchen wall that has been skimmed and painted can look fine for a year and then blister.
What tends to work better
Breathable finishes: lime plaster or a lime-based renovating plaster on the lower metre of the wall, breathable masonry paint, and in wet zones a tile backer board fixed so that any moisture behind it can still escape. Avoid boxing a damp wall in with plasterboard on untreated battens unless the cavity is genuinely ventilated. And keep the base of the wall clear; furniture pushed hard against a damp external wall will grow mould on its back panel.
Materials That Cope With Humidity
Choose finishes for the room you actually have, not the showroom. A few rules that hold up well in damp-prone kitchens:
- Carcasses: moisture-resistant MDF or marine ply beats standard chipboard, and sealed edges matter as much as the board itself.
- Legs and plinths: plastic or metal adjustable feet with a clip-on plinth let air move under the units. Avoid solid timber kickboards sitting directly on a damp floor.
- Worktops: quartz, solid surface, stainless steel and sealed granite shrug off splashes. Unsealed timber butchers' block around a sink is a long-term gamble.
- Splashbacks and floors: porcelain or ceramic tiles with epoxy grout, sheet vinyl, or quality luxury vinyl with sealed joints. Loose-lay vinyl curls at the edges in a humid room.
- Sealants: use mould-resistant silicone and replace it when it blackens rather than painting over it.
A Sensible Order of Works
- Fix leaks, gutters, drains and ground levels outside.
- Diagnose and treat damp, and let affected walls dry out properly.
- Check and upgrade electrics, gas and plumbing, using qualified tradespeople for anything gas or electrical.
- Plan and install ventilation, including the duct route.
- Repair and level the floor, keeping underfloor ventilation intact.
- Plaster, tile and decorate with breathable, moisture-tolerant materials.
- Only then fit the kitchen, leaving small gaps behind units on external walls.
Before the First Van Arrives
Spend an afternoon with a torch, a spirit level and a notebook. Look under the sink, behind the units, at the base of the external walls, and at the floor near the back door. Check the gutters from outside. Photograph anything odd, because the pattern will matter later.
If the property is listed, or sits in a conservation area, check what consent you need before cutting new vents or altering walls. If you are in any doubt about damp, movement or the condition of a floor, bring in a surveyor or damp specialist early, when the advice is cheap and the options are still open. A kitchen that is allowed to dry and breathe will outlast three that were sealed up and hoped for.
Photo: Claudia Solari / Pexels