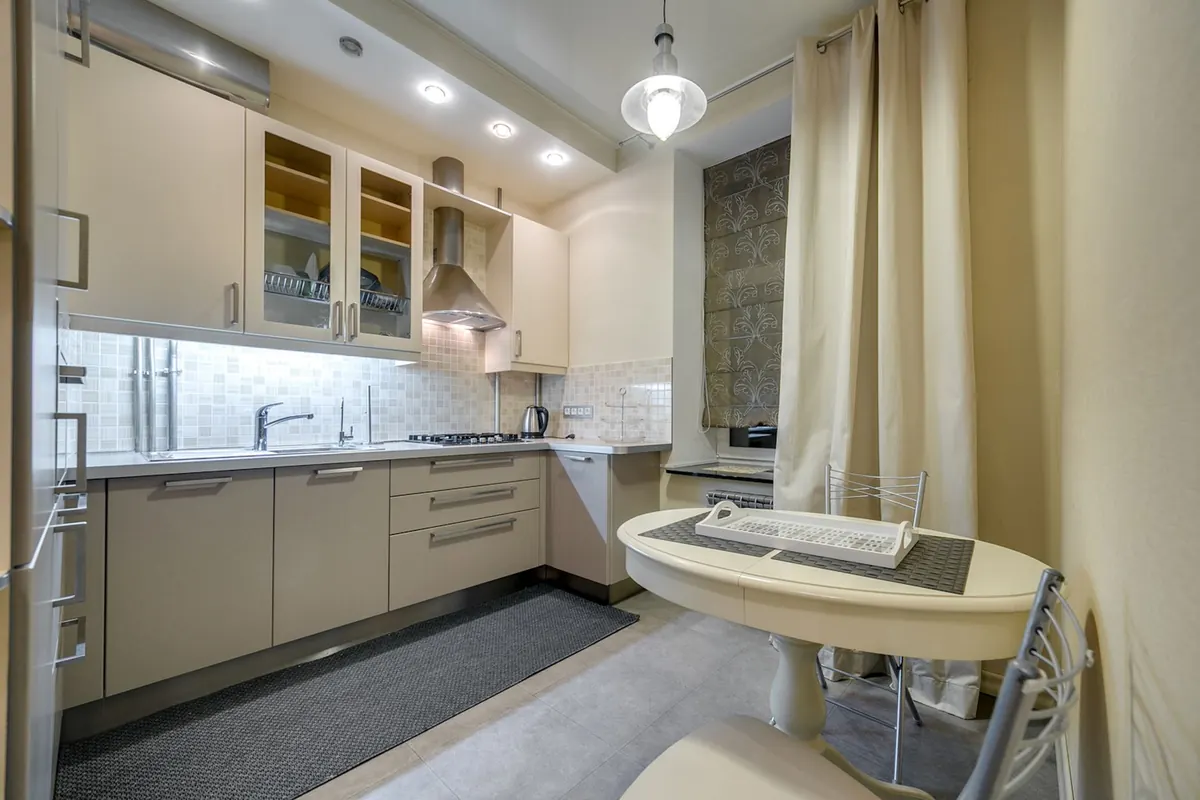
A fitted kitchen is only as good as the numbers you write down before you order anything. Measure carefully and units slide into place, worktops meet walls without ugly gaps, and the fridge actually gets through the front door. Skip the measuring and you will spend the install week making phone calls instead of making dinner. Set aside two unhurried hours, work around the room in one direction, and write everything down.
Start With the Right Tools and a Sketch
You do not need laser equipment to measure a kitchen, but you do need the right basics. A floppy fabric tape will mislead you over any distance beyond a metre; a metal tape that stays rigid is the tool for the job.
- A metal tape measure at least 5 metres long, ideally with a lock
- A pencil, a notebook or a printed grid, and a clipboard
- A small spirit level for checking how far walls lean and floors drop
- A torch for the back of cupboards and under the sink
- Your phone, to photograph every corner and every note you make
Sketch the room roughly to scale — a rectangle is fine — and label the walls A, B, C and D as you go clockwise from the door. Every measurement you write must say which wall it belongs to. A page of numbers with no labels is worse than no notes at all.
Work in millimetres, always. Write 2230, not 2.23m or 7ft 4in. Converting later is where mistakes creep in.
Measuring the Walls: Width, Height and the Awkward Bits
Measure each wall at three heights: at floor level, at roughly 900mm where the worktop will sit, and just below the ceiling. In an older property these three numbers often disagree. A difference of 20mm or 30mm tells you the wall bows or the plaster is thick in the middle, and it tells your fitter to plan for scribing and filler panels rather than assuming a straight run.
Then measure the diagonals, corner to corner across the room. If they are not the same, the room is not square, and any run of units along a long wall will need to absorb that difference somewhere. Note the position of chimney breasts, boxed-in pipes, exposed joists and anything else that interrupts a run — measure their width, their depth into the room, and the distance from the nearest corner to each edge.
Measuring Around Windows
For every window, record the width of the opening and the width across the reveal, the height from floor to sill, the height from sill to ceiling, and the distance from the adjacent corner to the window edge. Check how the window opens: a side-hung casement or a tilt-and-turn unit needs clearance in front of it, and that clearance decides whether a base unit can go underneath or whether you need a reduced-depth cabinet. Note the depth of the window board too — it usually overhangs the wall.
Doors and the Delivery Route
Measure the door width and height, then the frame, then note which way it swings and how much space the swing takes. A standard internal door is around 762mm, and that gap is what a fridge, a range cooker or a tall larder unit has to pass through. If your delivery route includes a narrow hallway, a tight turn at the bottom of the stairs or a step up at the front door, measure those as well. It is a short conversation now and a very long one on delivery day.
Tracking Down Water, Gas, Electric and Waste
Services decide where the sink, hob, oven and boiler can realistically go, so find them all and mark them on your sketch.
- Locate the stopcock and note the route of the incoming cold supply.
- Note the boiler position, its flue, and any visible pipework running along walls.
- Find the gas meter and trace where the gas pipe runs to the existing hob or cooker point.
- Record every socket and switch with its height from the floor and its distance from the nearest corner.
- Note the cooker control switch, the extractor outlet or ducting route, and the consumer unit.
- Under the sink, note the position of the waste pipe, the trap and the soil stack or drainage connection.
Sinks and dishwashers need a waste run with a gentle fall, so moving them far from the existing waste is rarely as simple as it looks. Gas appliance work must be carried out by a registered engineer, and any new electrical circuits or alterations should be signed off by a qualified electrician who can confirm what current regulations allow near water and hobs. If you are unsure whether a pipe is gas, water or something else, leave it alone and ask.
Ceiling Heights, Bulkheads and Sloped Ceilings
Measure the ceiling height in all four corners and in the middle of the room. Those five numbers tell you whether the ceiling is level and whether tall units will need trimming. Then look up: bulkheads over old chimney breasts, boxed beams, coving and lowered sections all reduce the usable height and change where a 2100mm tall unit can stand.
In attic rooms or under-stair kitchens, measure the ceiling height every 500mm along the wall so you can see exactly where a tall unit stops working and a shorter one starts. Do the same for any sloped or angled ceiling.
Appliance Gaps and What Actually Has to Fit
Do not measure nominal sizes from memory. A "600mm" appliance is rarely exactly 600mm, and brands differ enough to matter in a tight gap.
- Freestanding cookers and range cookers: width, height, depth, plus clearance at the back for the hose and cable.
- Fridge freezers: width, height and depth, and the space needed for the door to swing open — a fridge against a side wall can stop a drawer or shelf from coming out.
- Washing machines and dishwashers: width, height, and whether the appliance needs to sit under a worktop or inside a housing.
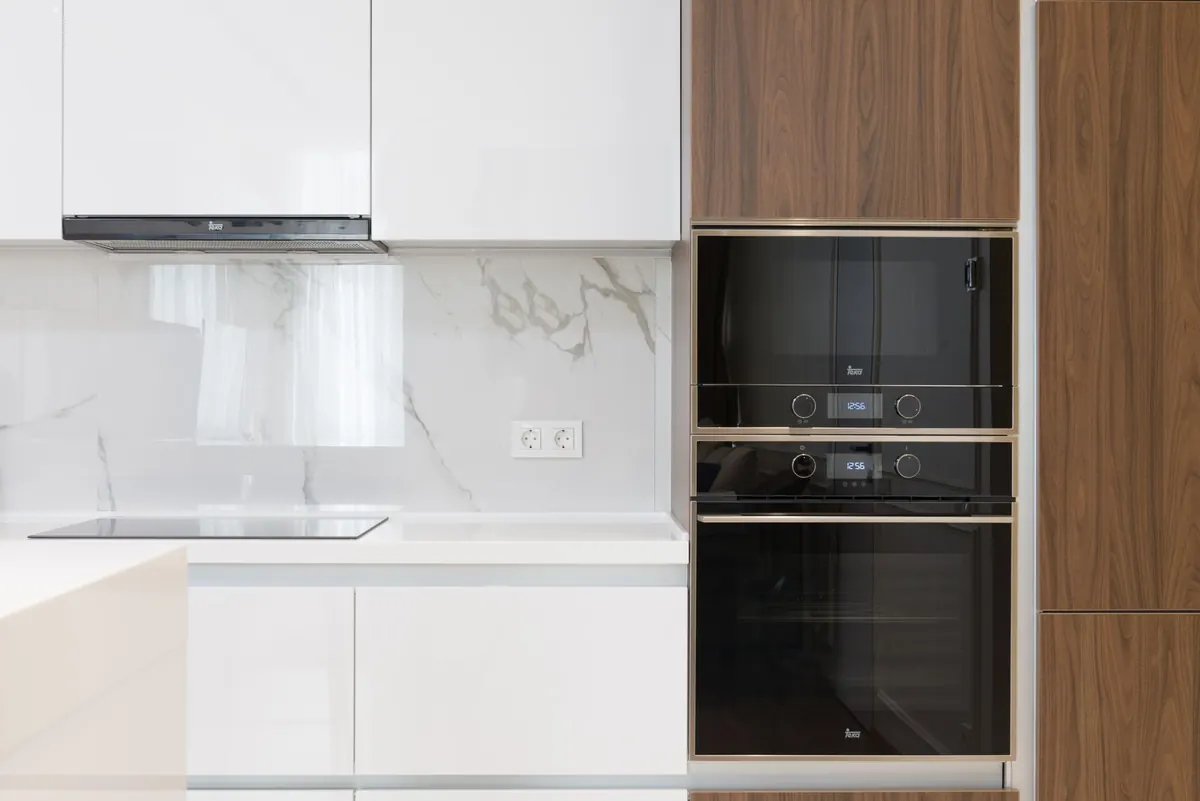
- Built-in ovens and microwaves: the internal dimensions of the housing, not the appliance front.
- Extractor hoods: the width of the hob below and the clearance required above it.
Also measure the doorway into the kitchen itself and any tight return between a wall and a unit end. Note the position of the radiator, its width and how far it protrudes; if it needs moving to make room, that is a plumber's job and should be planned before the units arrive, not after.
Checking Your Figures Before You Order
Read your notes back once with a fresh eye. Every number should be in millimetres, labelled with a wall or a feature, and accompanied by a photo of the spot it came from. Re-measure the overall room width and length once more and compare — if the second set of numbers does not match the first, find out why before you go any further.
Mark anything you are unsure about: a wall that may be stud, a pipe you could not identify, a ceiling that slopes oddly. A professional site survey before ordering will confirm your measurements and flag anything structural, which is exactly the point at which to ask rather than guess. Get the numbers right and the rest of the project becomes straightforward.
Photo: DRT.fm . / Pexels